A whole-home backup generator can restore power automatically during an outage, but reliable performance starts with a careful installation plan. The job involves more than setting a generator beside the house. You need the right capacity, an approved location, a suitable fuel supply, a transfer switch, permits, inspections, and startup testing. Because the work involves electricity, combustible fuel, exhaust, and carbon monoxide, qualified professionals should handle the required connections. Use this whole-home backup generator installation checklist to prepare for each stage and confirm that the finished system operates safely when utility power fails.
Pre-Installation Checklist: Plan Before Work Begins
Calculate Home Power Needs and Choose the Right Generator Size
Start by listing the circuits and appliances the generator must support during an outage. Include essentials such as refrigeration, lighting, heating equipment, well pumps, sump pumps, and selected outlets. Add larger loads such as central air conditioning only when needed. Check each device’s running watts and starting demand, because motors can draw extra power during startup. A useful watt and horsepower reference can also help explain how electrical output and engine capability relate when reviewing generator specifications. Have the installer complete a load calculation before selecting capacity. Proper sizing supports stable operation without paying for unnecessary generator output.
Check Permits, Local Codes, and Installation Requirements
Confirm permit requirements before excavation, electrical work, or fuel-line installation begins. A whole-home standby generator may require electrical, gas, mechanical, zoning, or building approval, depending on the local authority. The installation must also follow applicable electrical and fuel-gas codes, utility rules, and the generator manufacturer’s instructions. Ask who will obtain each permit and schedule inspections so paperwork does not delay the project. Licensed professionals should complete regulated electrical and fuel connections. If the home is governed by a homeowners association, review its placement or noise requirements as well. Keep approved plans and permit records with the generator documentation.
Choose a Safe Generator Location With Proper Clearances
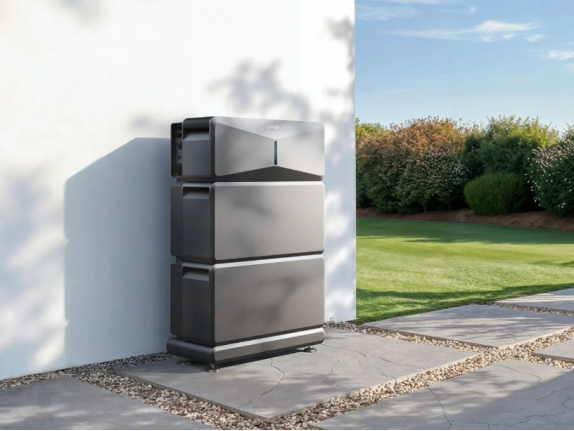
Place the generator outdoors on a stable site that meets the manufacturer’s required clearances and local rules. Never install a combustion-powered standby generator inside a house, garage, basement, shed, or other enclosed area. Position the exhaust away from doors, windows, vents, and other building openings to reduce carbon monoxide risk. The location should provide service access and airflow for cooling. Check required distances from property lines, combustible materials, meters, and fuel equipment. Before finalizing the spot, confirm that rainwater, snow, landscaping, or future storage will not block ventilation, exhaust, or maintenance access.
Installation-Day Checklist: Site, Fuel, and Electrical Setup
Prepare the Generator Pad and Confirm Safe Placement
Prepare a level, durable base before placing the generator. Installers commonly use an approved concrete or prefabricated pad that supports the unit and keeps it stable through vibration and changing weather. Follow the manufacturer’s base requirements rather than improvising the foundation. Confirm that the final position preserves required clearances after the generator is secured. Plan drainage so water does not collect around the enclosure. The site should remain accessible for oil changes, filter replacement, inspections, and repairs. Verify that landscaping, fences, stored items, or planned construction will not interfere with airflow, exhaust, or service access.
Verify Natural Gas or Propane Supply and Connections
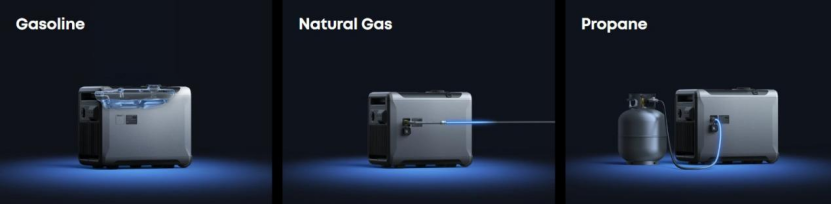
Confirm that the home’s natural gas service or propane system can supply the generator at its required load. Inadequate fuel flow can cause poor performance when demand rises. The installer should size piping using fuel requirements, pipe length, pressure, fittings, and other connected appliances. For propane, verify tank capacity, regulator requirements, and safe tank placement. A qualified professional should complete fuel work according to applicable codes and manufacturer instructions. After installation, check the system for leaks using approved procedures. Never use an open flame to test connections, and keep fuel shutoff valves accessible for service.
Install the Automatic Transfer Switch and Electrical Connections
The automatic transfer switch connects the standby system to the home’s electrical equipment and separates generator power from the utility supply during an outage. A qualified electrician should install the switch, overcurrent protection, wiring, grounding, and bonding as required for the system and local code. Transfer equipment must match the generator configuration and intended loads. Confirm that circuit labeling is clear and service equipment remains accessible. Never make a makeshift connection or feed generator power through a household outlet. Proper transfer equipment prevents dangerous backfeeding and lets the generator take over automatically when utility power is interrupted.
Final Checklist: Testing and Inspection
Complete Required Inspections and Safety Checks
Before regular service begins, complete every required inspection and correct issues identified by the authority having jurisdiction. The installer should verify electrical connections, fuel piping, exhaust direction, enclosure clearances, mounting, labels, and transfer equipment. Confirm that guards and access panels are secured and the area around the unit remains unobstructed. The home should also have working carbon monoxide alarms installed and maintained according to applicable requirements and manufacturer guidance. Record permit approvals, inspection results, generator model information, and installer contact details. A documented final check creates a useful baseline for future maintenance and service.
Test Startup, Power Transfer, and Supported Home Loads
Run a full startup and transfer test after installation and inspection. The technician should simulate a utility outage, confirm that the generator starts, and verify that the automatic transfer switch moves the intended loads to generator power. Check selected appliances and major equipment to ensure the system carries the planned load without abnormal shutdowns or warnings. Restore utility power and confirm that the switch transfers the home back correctly and the generator completes its cooldown cycle. Review the control panel, alarms, emergency shutdown procedure, and operating instructions with the homeowner. Record test results and schedule recommended exercise and maintenance intervals.
Conclusion
A successful whole-home backup generator installation depends on planning, qualified workmanship, and thorough testing. Size the system from a proper load calculation, secure required permits, choose a compliant outdoor location, and prepare a stable base. Make sure the fuel system and automatic transfer equipment match the generator and the home’s electrical needs. Before relying on the system, complete inspections and test the full outage-to-restoration sequence. Keep manuals, permits, service records, and installer information together for future reference. With these steps completed, the generator is better prepared to deliver dependable backup power while supporting safe operation throughout its service life.